I recently volunteered to make a craft pumpkin (not an actual gourd with guts) for our daughter’s 3rd grade class. Each class is making a pumpkin, and all the pumpkins will be raffled off at the school’s Fall Festival this weekend. The best pumpkin will win a prize for the class. Claire’s class picked the theme “Mad Scientist”.
I had originally thought I’d be able to spend a little time over the course of several days planning and building things out. But as often happens in our hectic lives, other priorities kept coming up, and this ended up being an 11th-hour dash. The pumpkin was due to be delivered to the class on Monday morning, and I basically did the build between 8:00 p.m. and midnight on Sunday.
I managed to take a few pictures to document my progress, so I thought I’d share them here.
(Click any image to embiggen)
This was my initial sketch to work on, based on my daughter’s drawing. the essential elements we wanted to capture were “crazy hair”, safety goggles, gears, and test tubes. I also wanted to have blinky lights. I had also hoped to add sound, but didn’t have time to work on that.

I was able to find almost all of the items I needed at Michael’s Arts and Crafts. The craft pumpkin is made out of a sort of compressed foam material. For the hair, I used a package of artificial spider web material. The gears and test tubes were decorative elements from the DIY jewelry area. I lucked out on the eyeballs — Michael’s had some blinking light-up eyeball rings. I just popped off the ring portion. The safety goggles were an old pair that I had laying around and didn’t use anymore because the elastic strap had deteriorated.

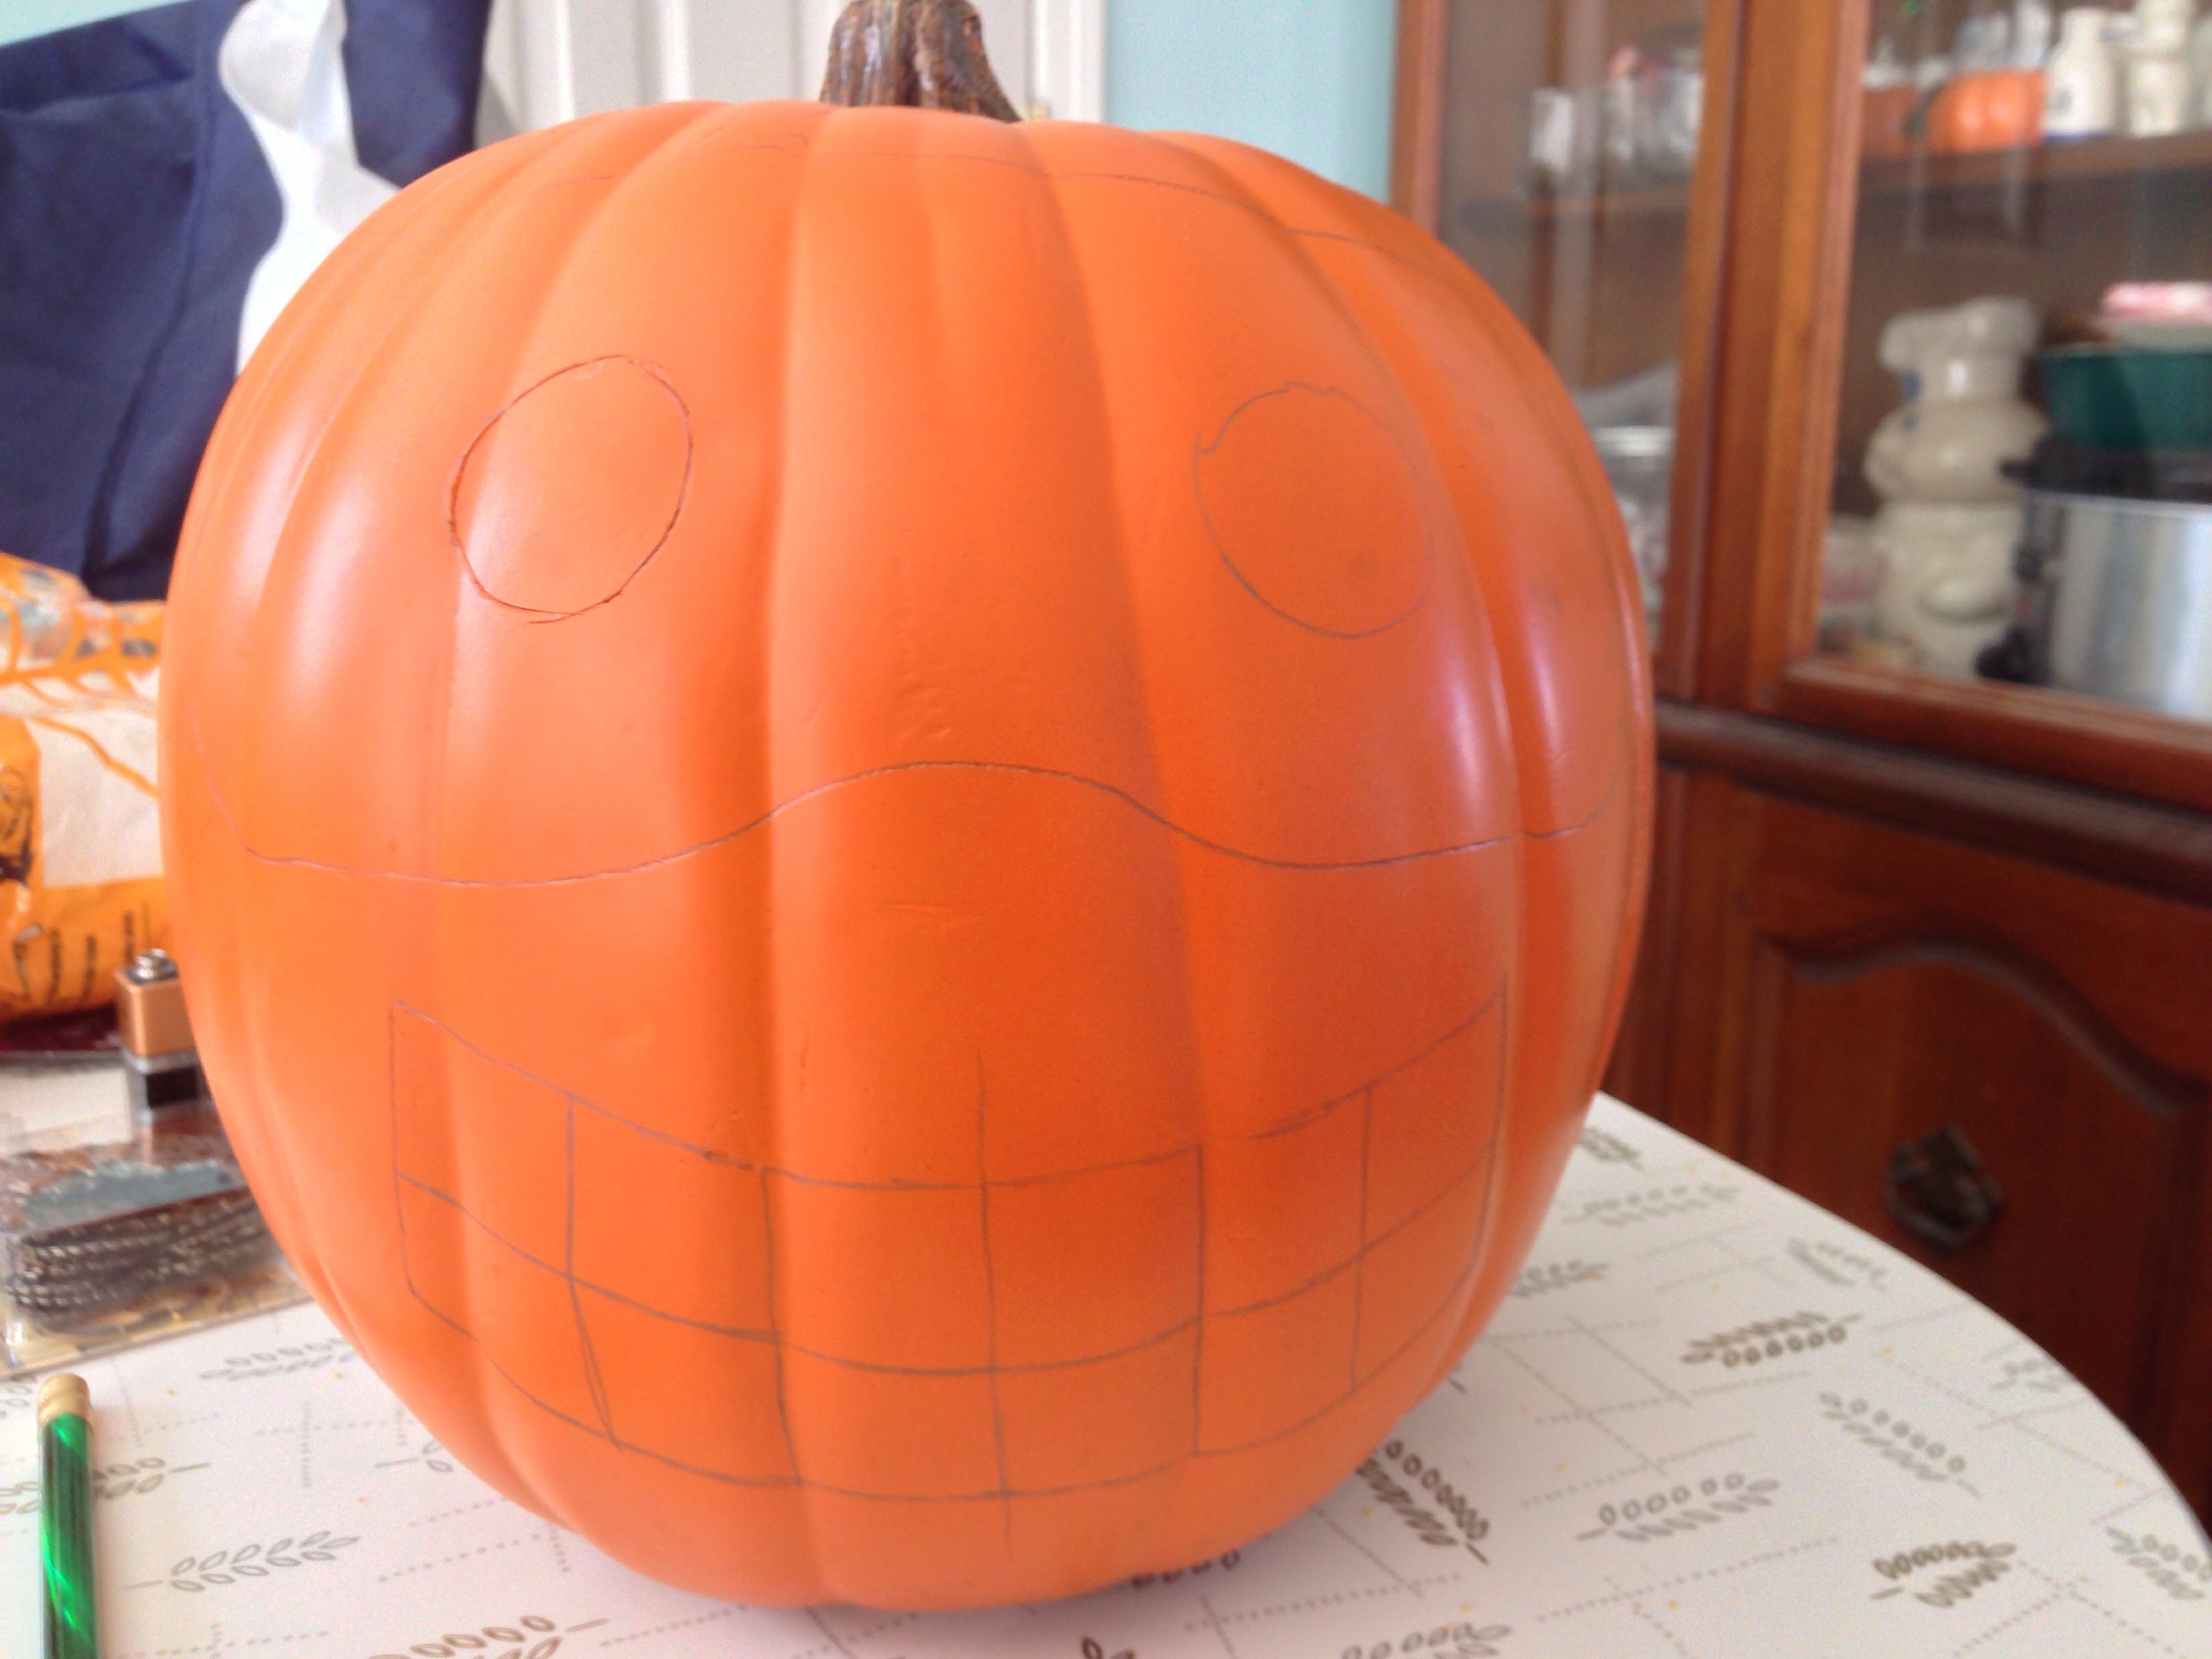
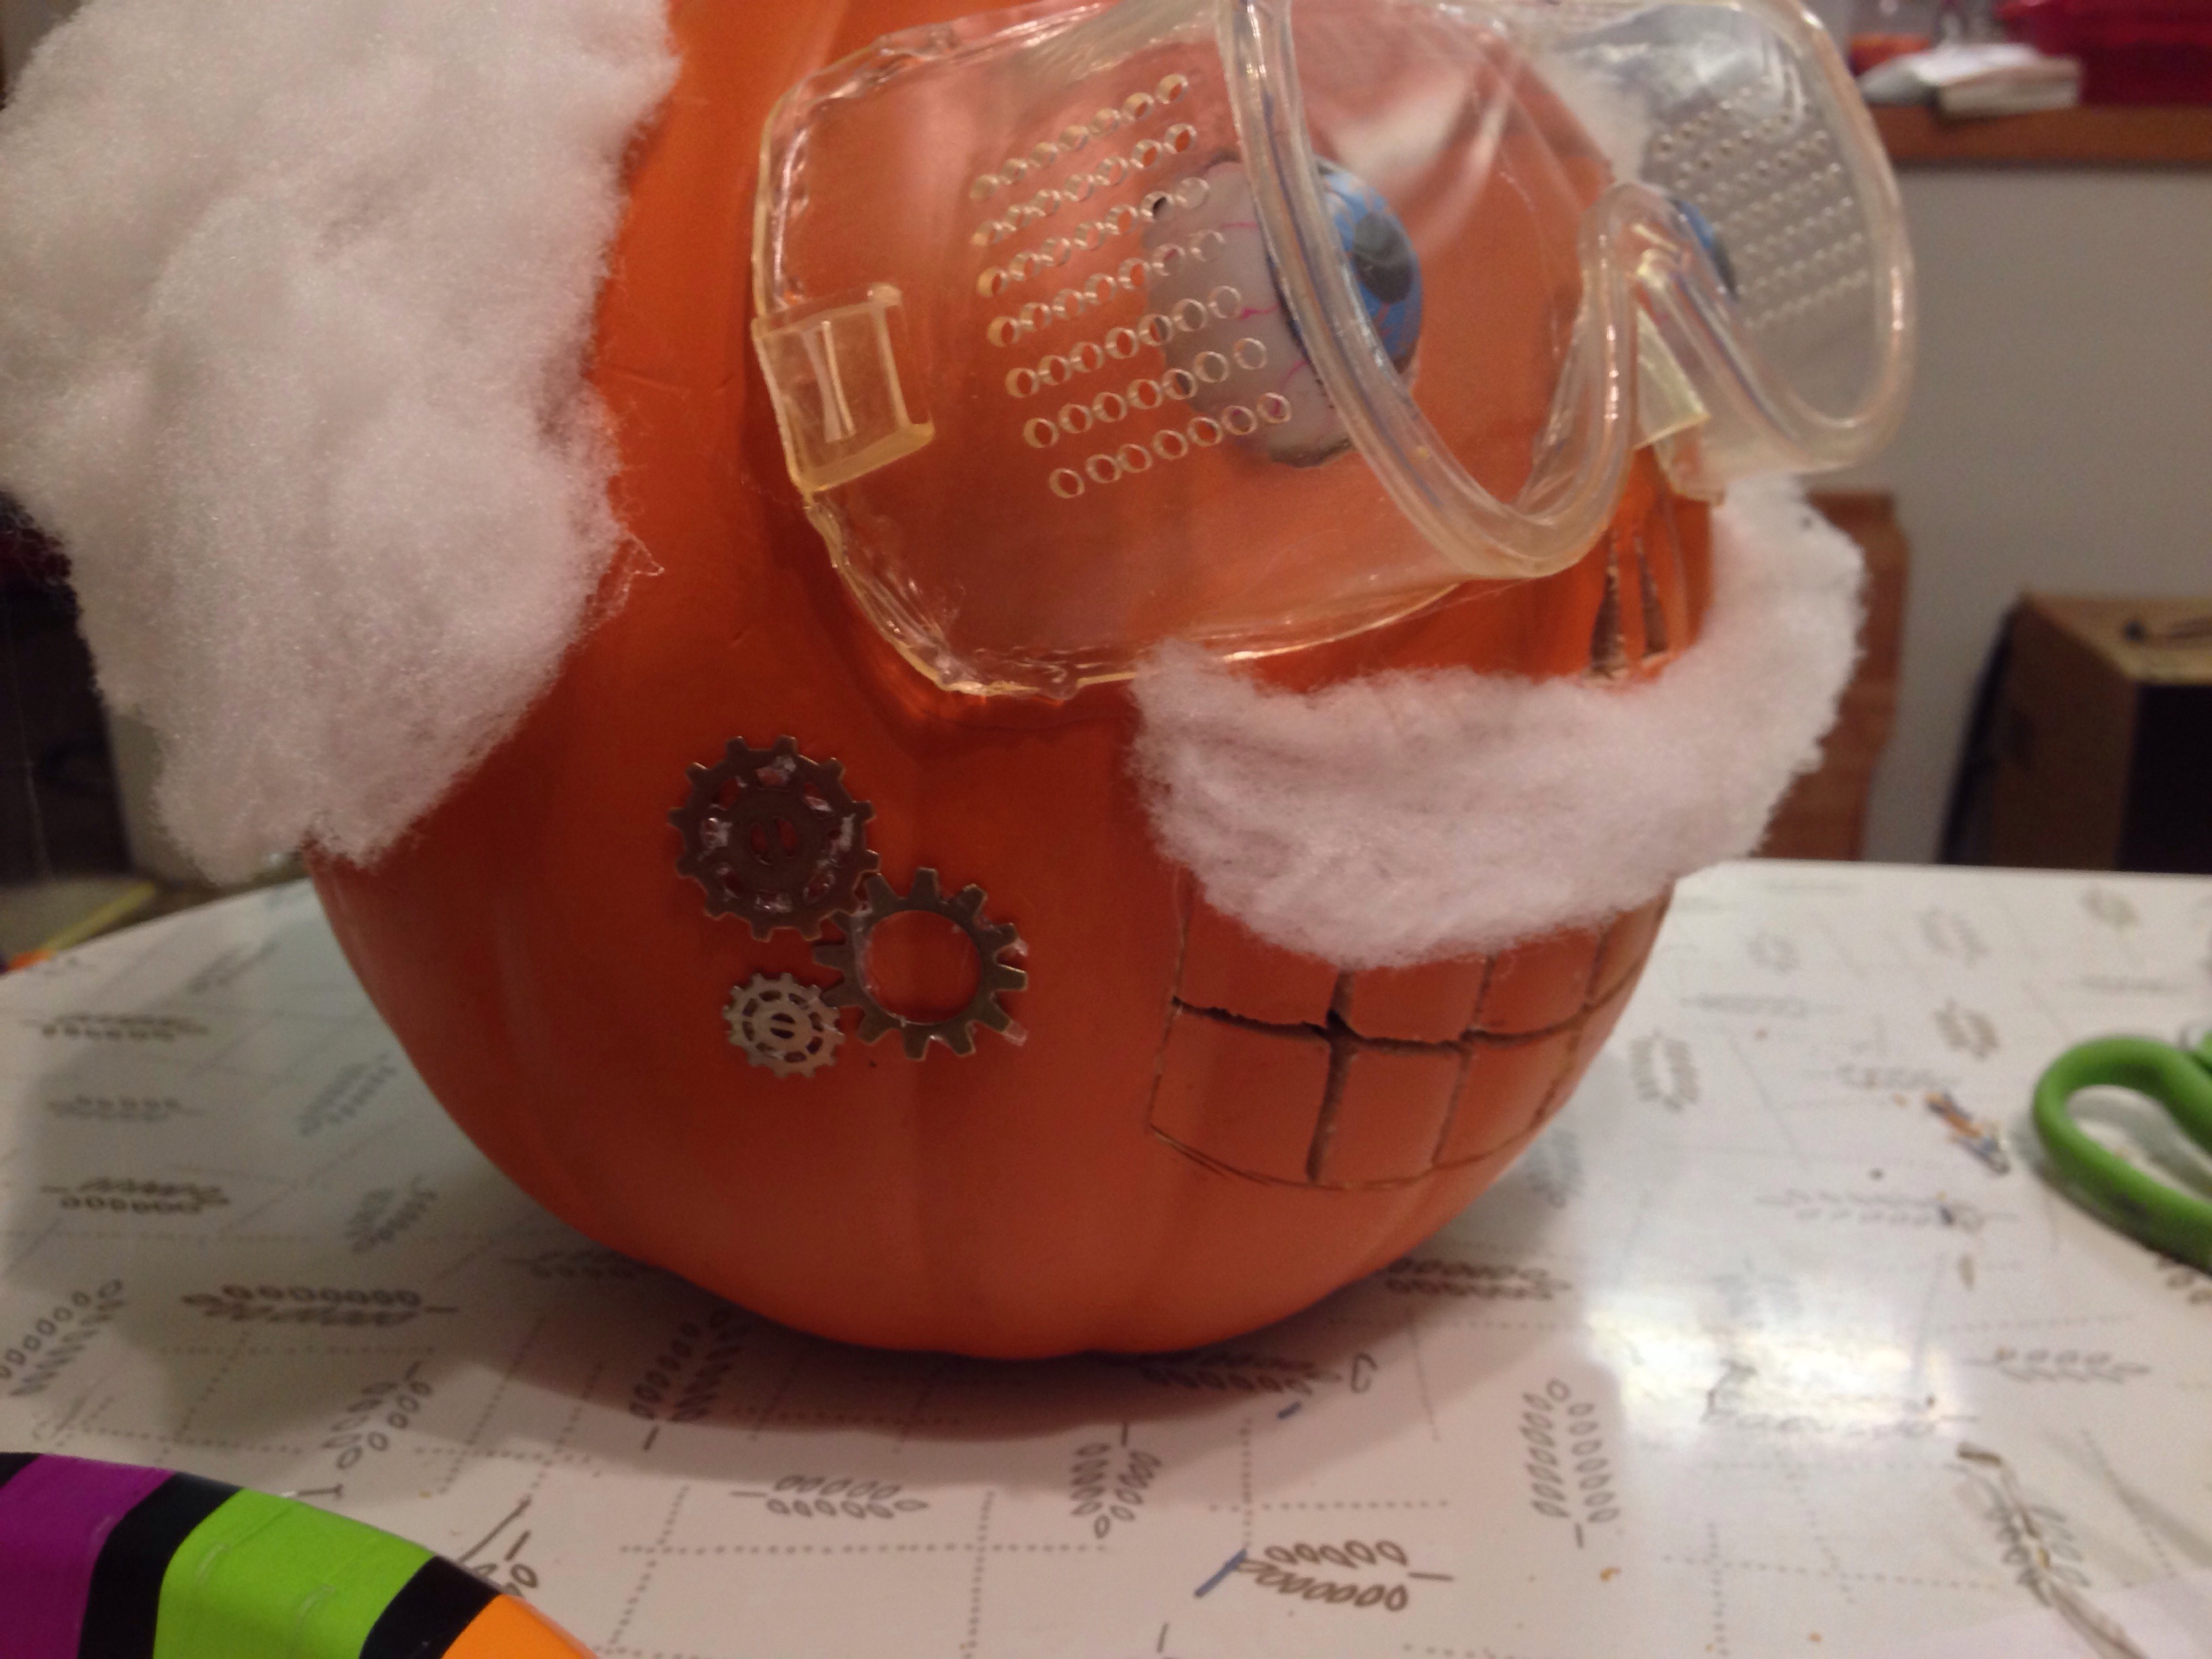
The first thing I did was to draw the face onto the actual pumpkin. I placed the goggles on to get a good idea for placement of the eyes, then sketched the mouth out based on that. These goggles were pretty big, relative to the pumpkin, so I wound up relocating the gears from the forehead in the sketch to the cheek area. I also traced around the base of my eyeballs for the eye sockets, making sure to start them out small, then I was able to widen them later to a size that was just big enough to hold the eyes in place.
With my placement set, I was now ready to begin cutting. I used an Xacto knife and a standard, cheap-o pumpkin carving saw to carefully trim out the eye holes and the top opening for access to the inside of the pumpkin.
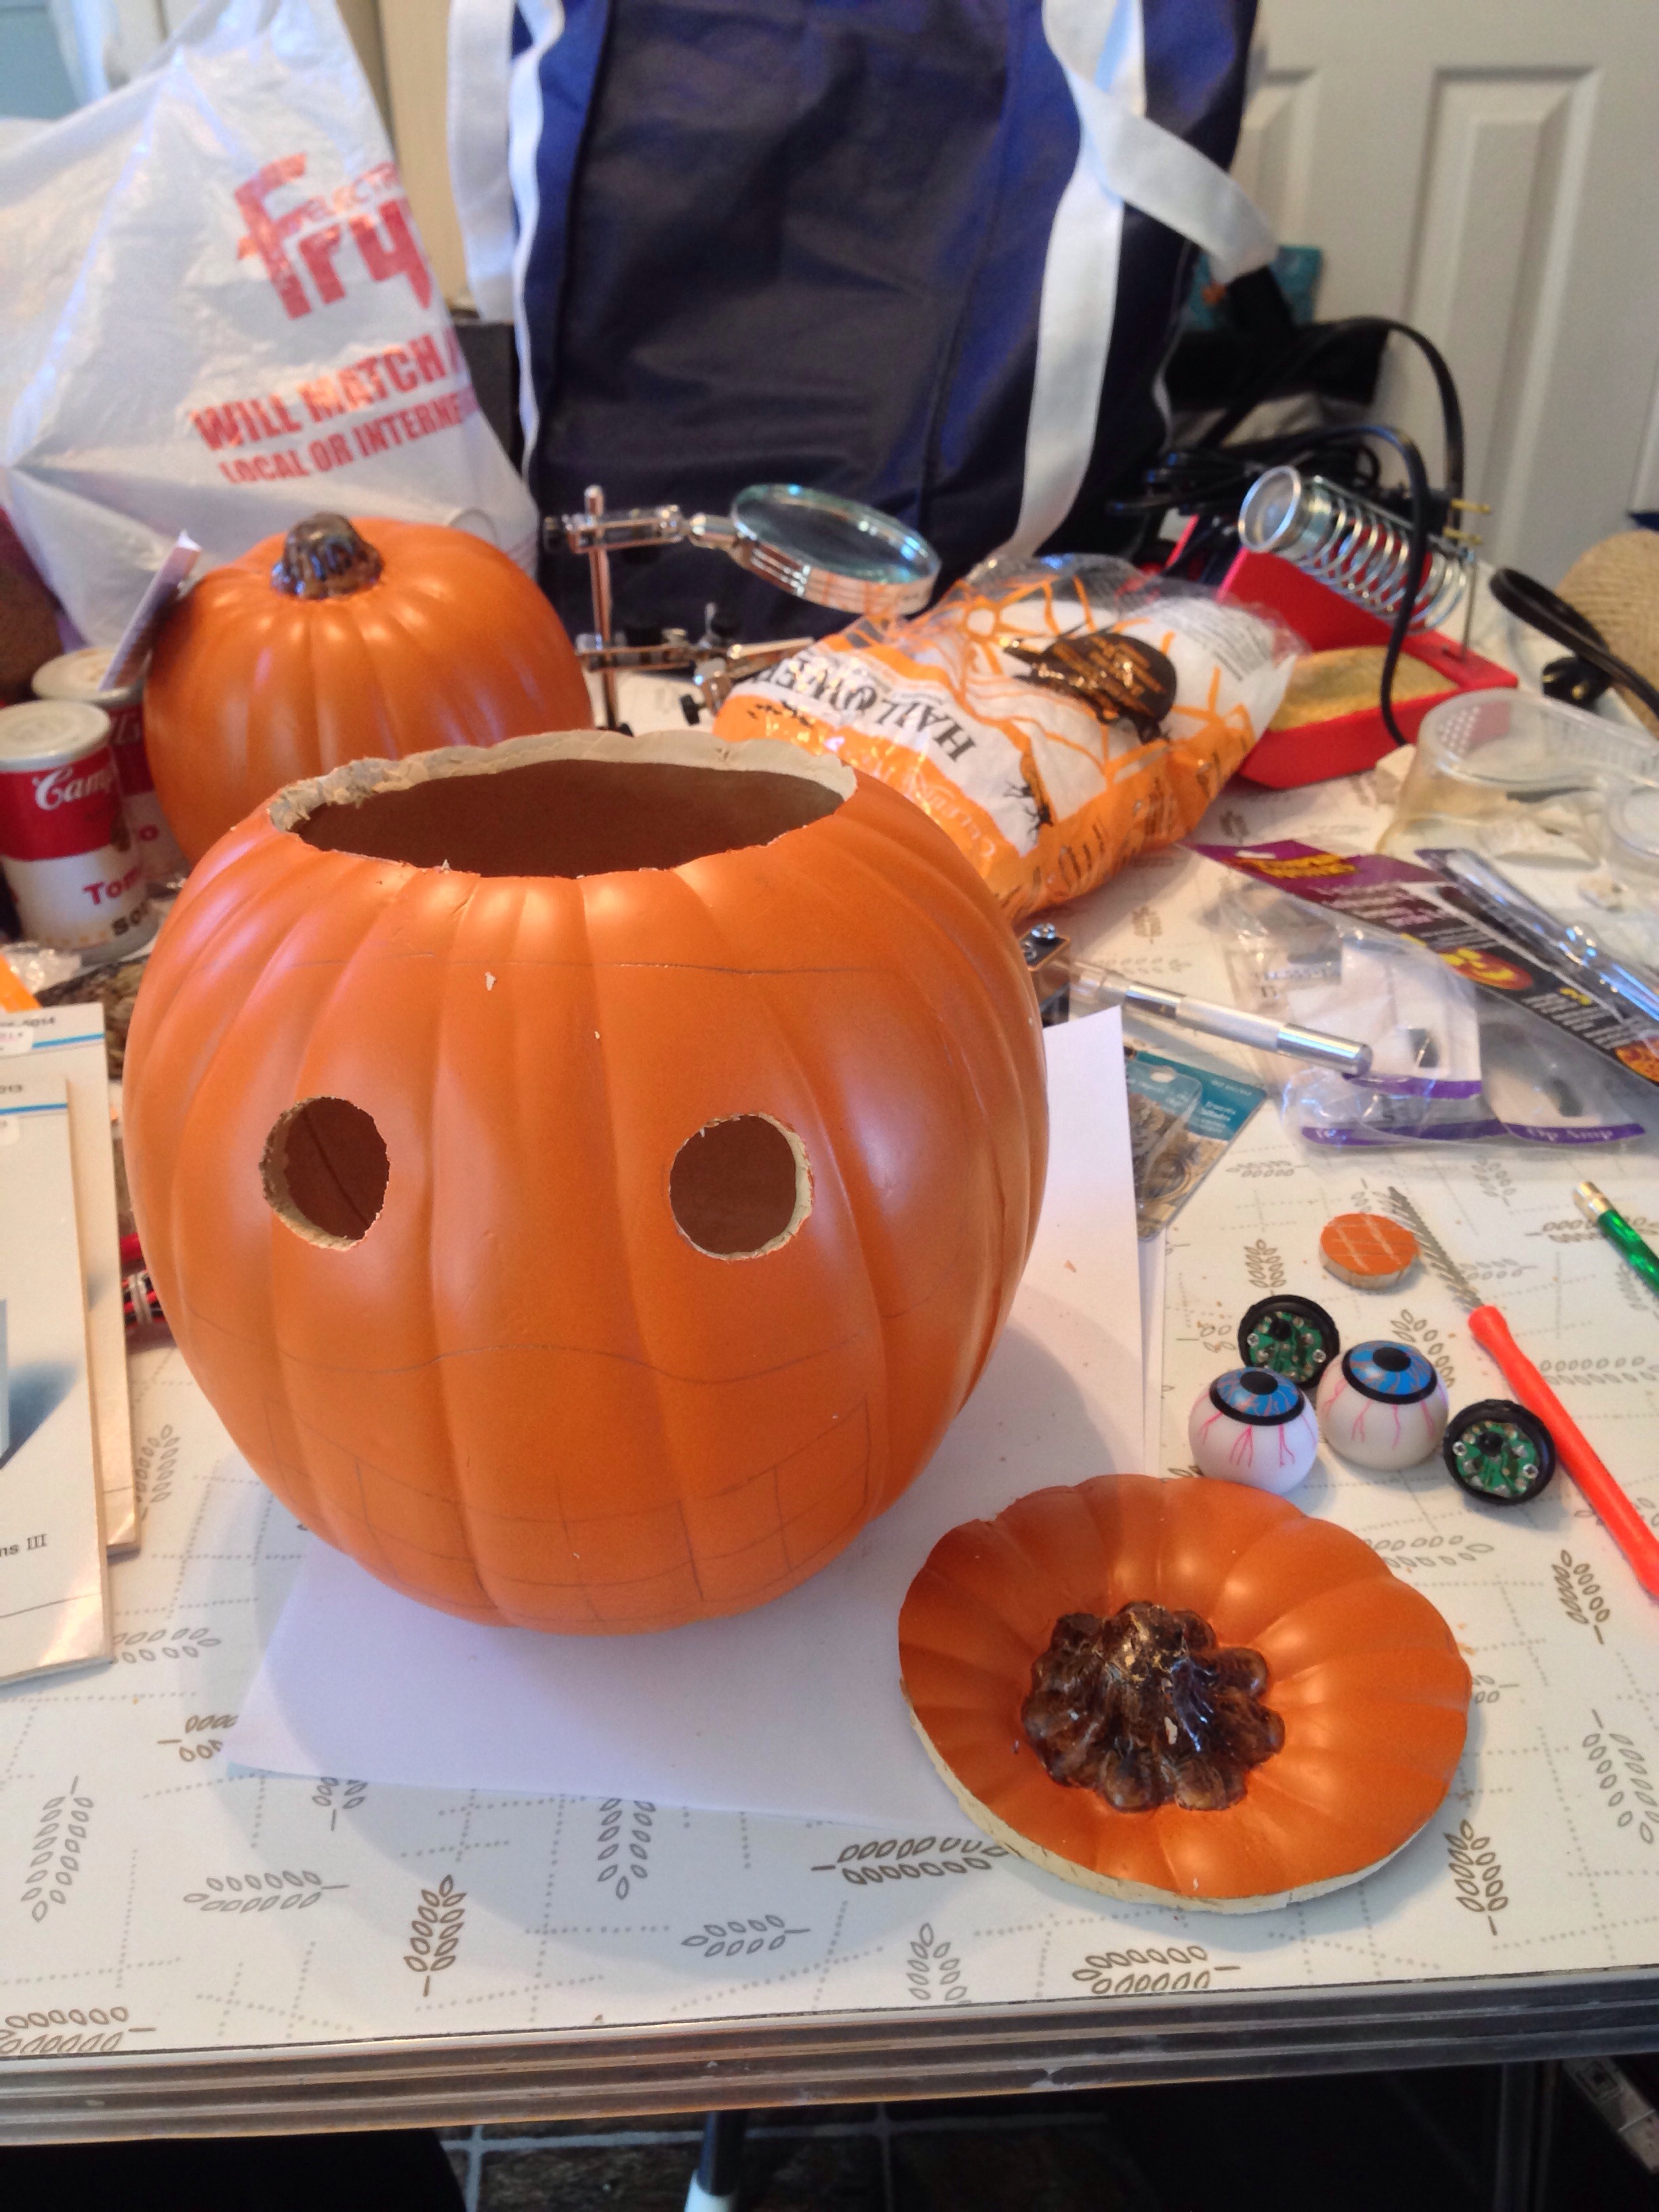
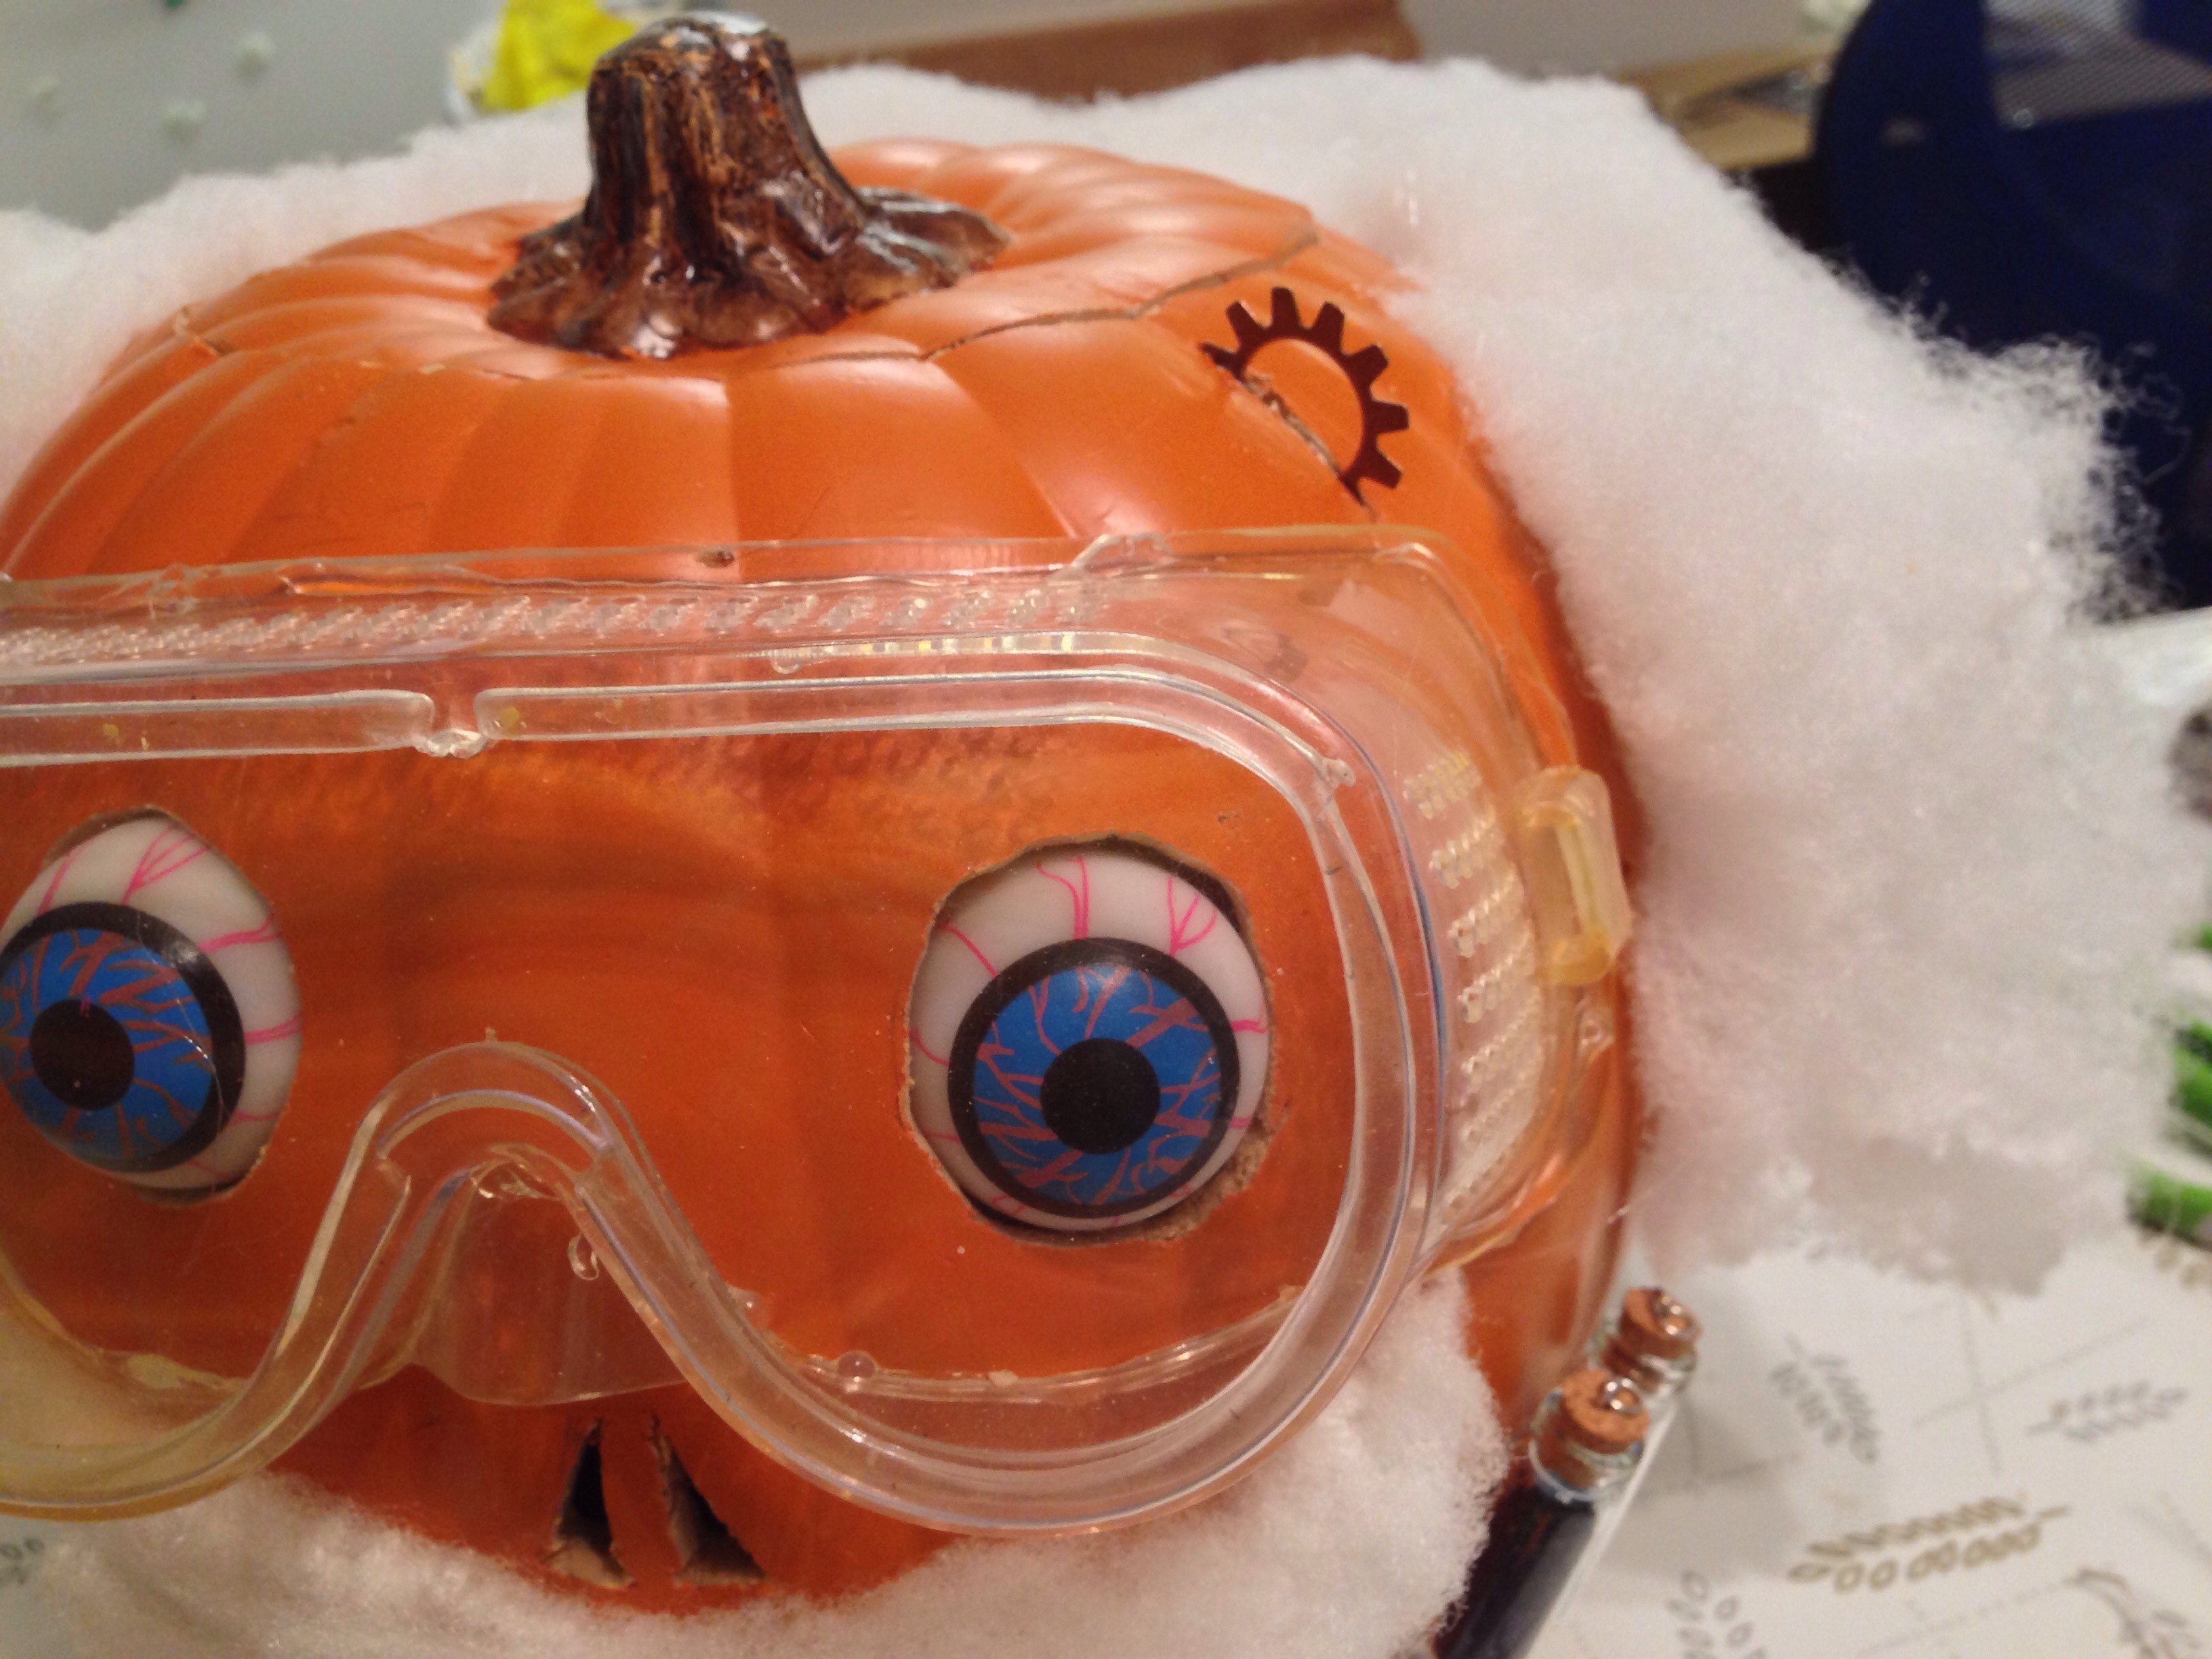
I used a Dremel with a sanding disk to cut out the gaps that define the teeth. Where necessary, I used the saw to widen and clean up. We also decided to add skull-like nose holes, which I cut out with the Xacto knife. After some careful and gradual trimming and sanding, I got the eye holes to just the right size to squeeze the eyeballs in.

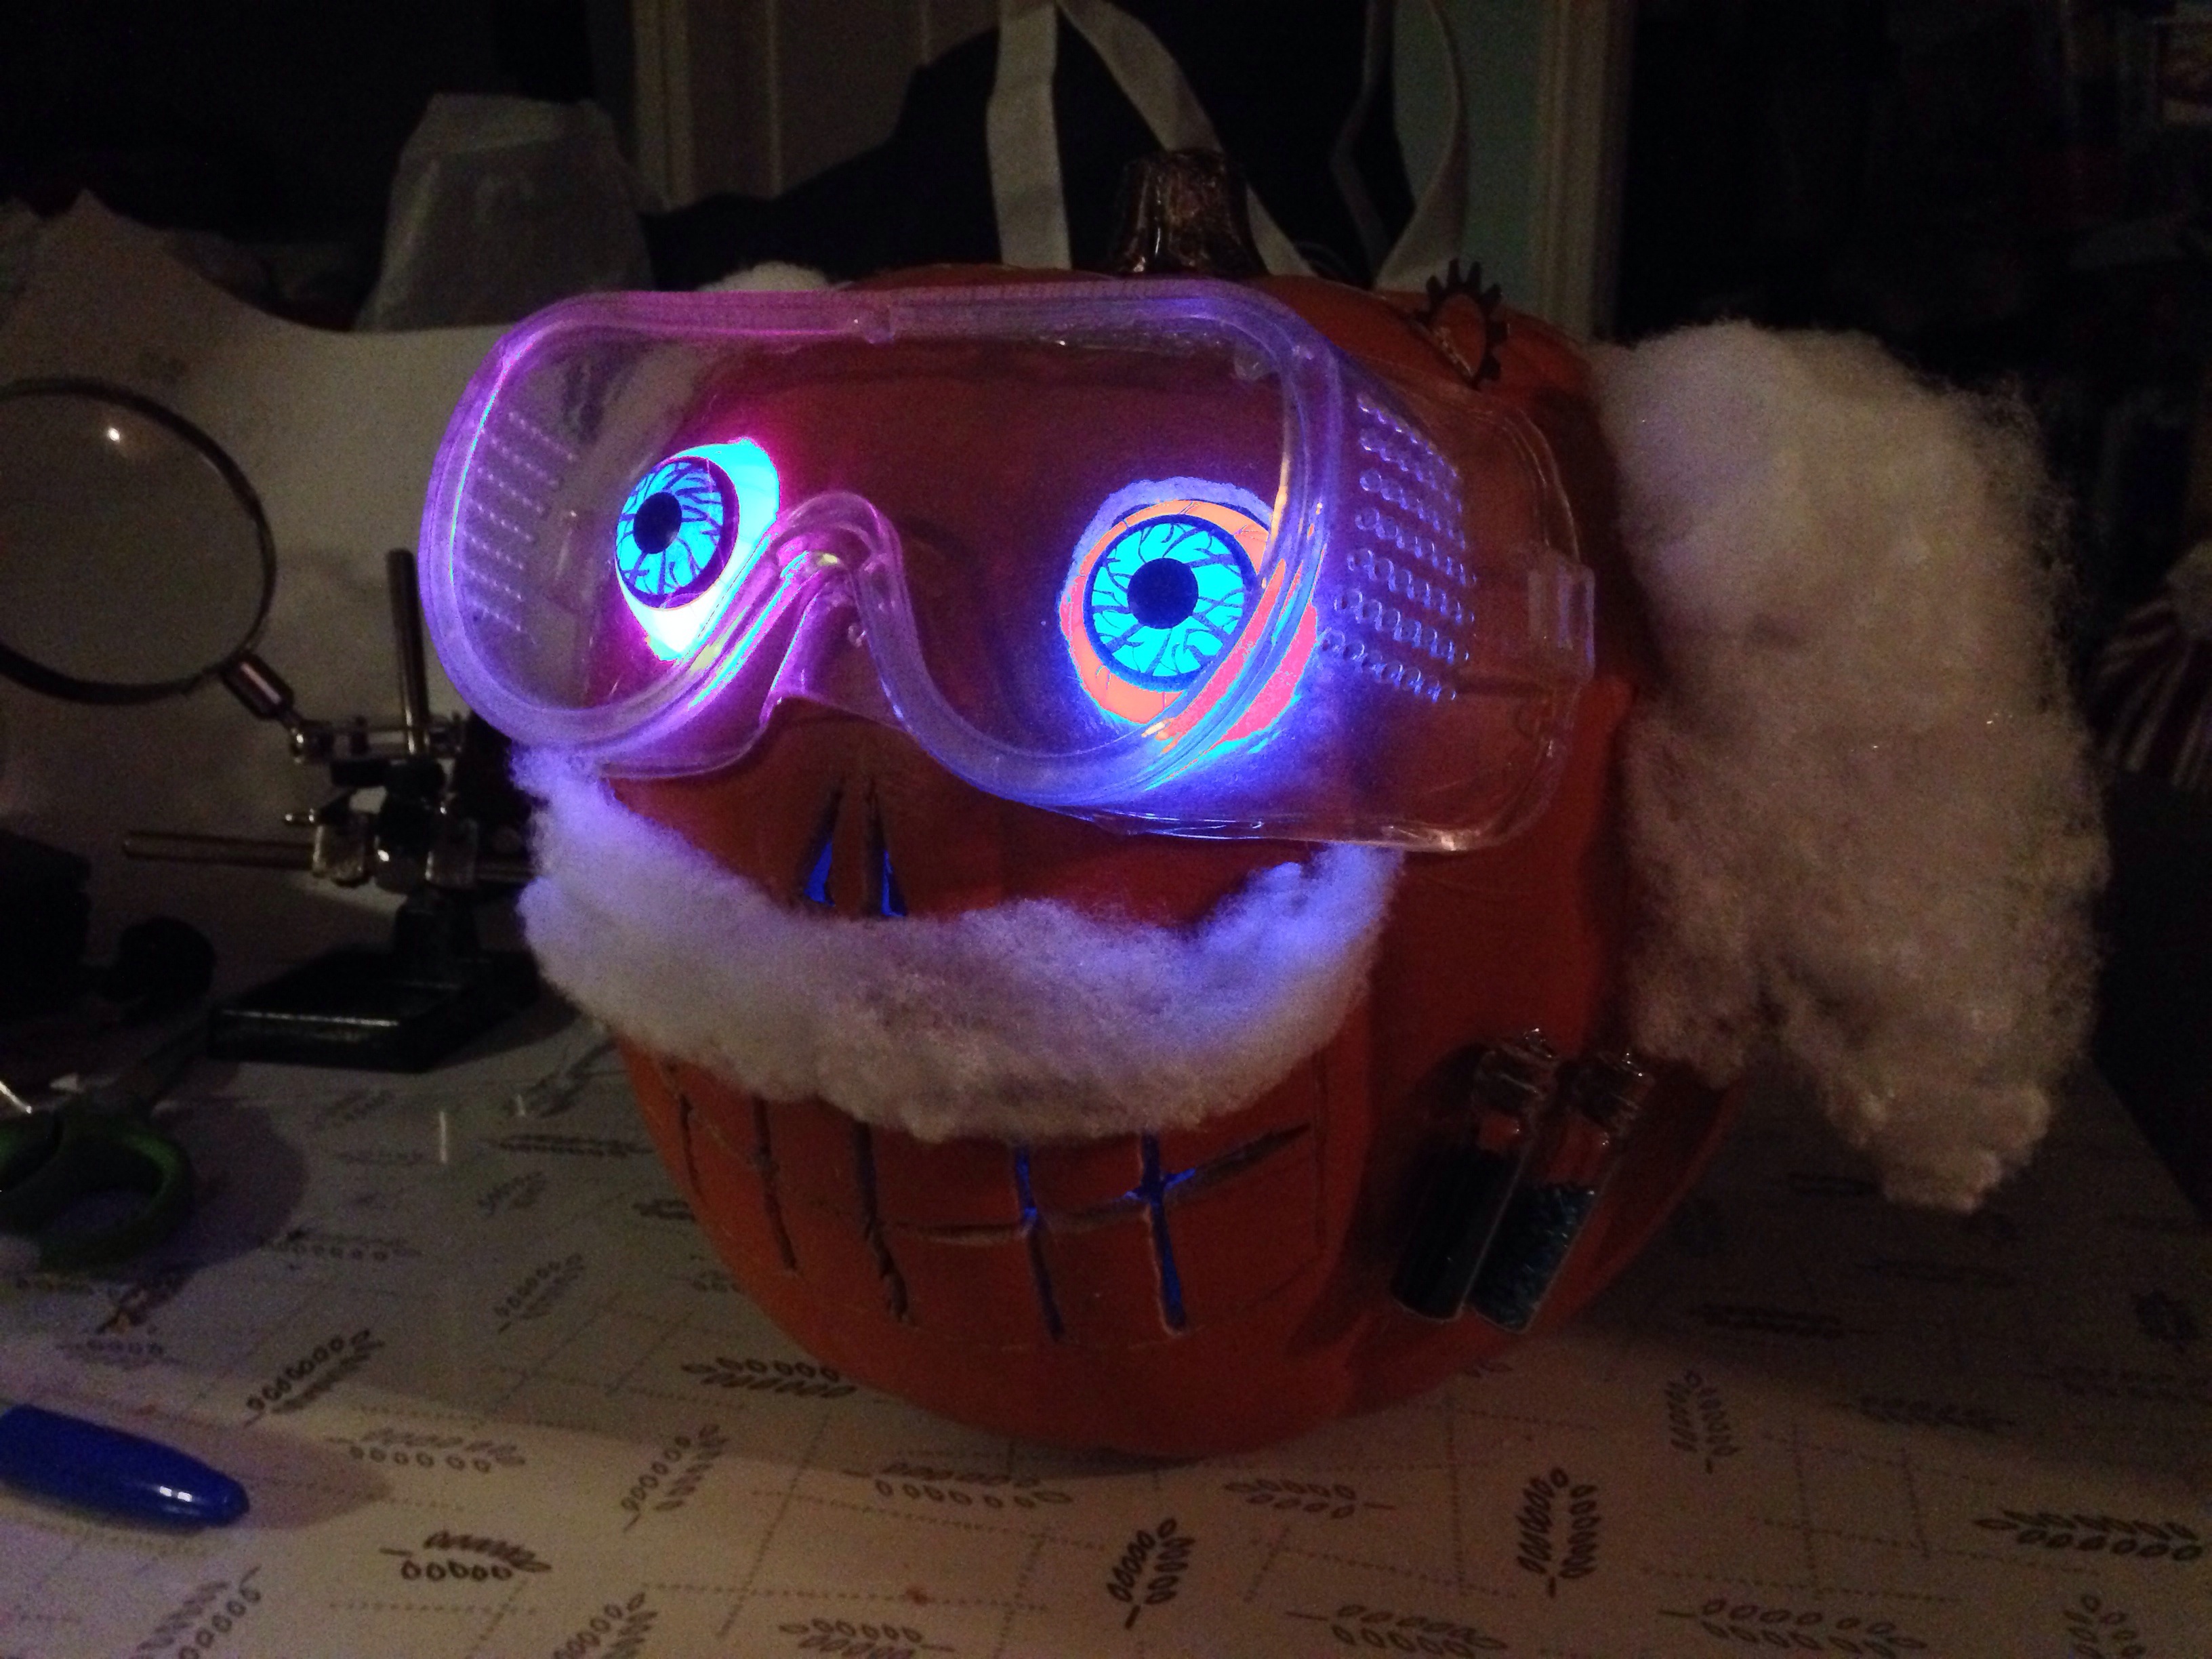
At this point, as long as I had blinking eyeballs, it only seemed right that I should do a lighting test…
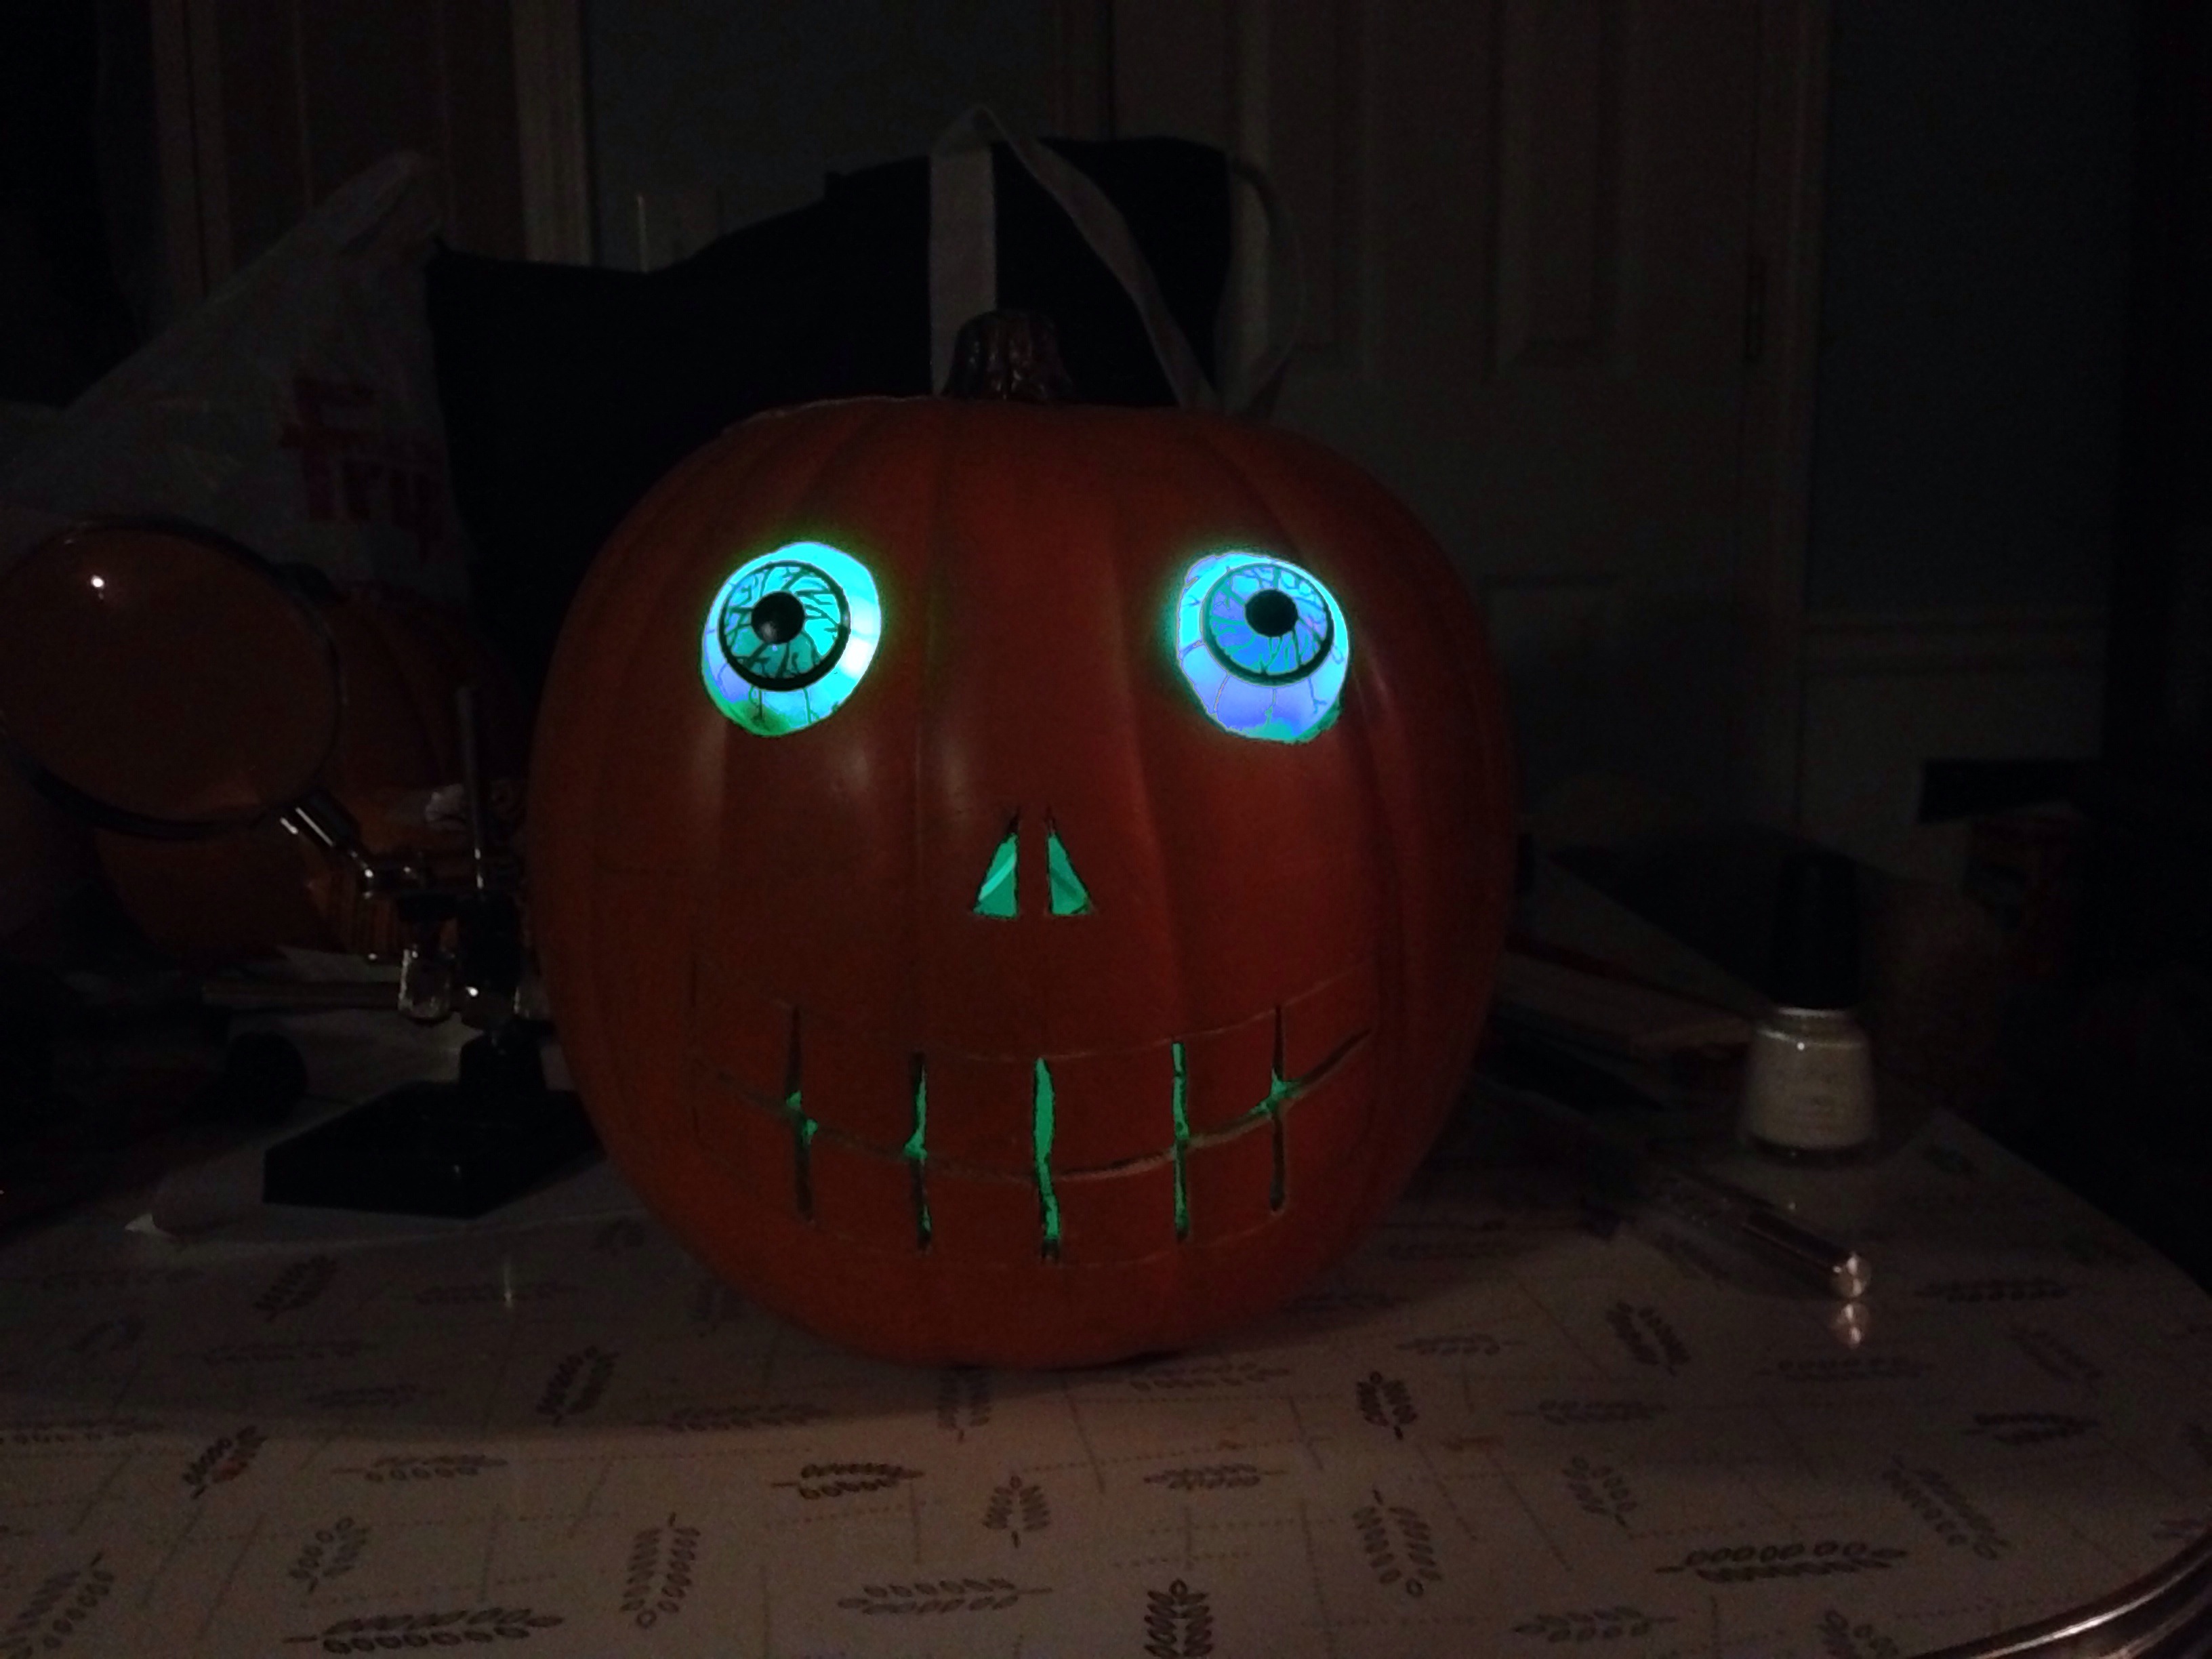
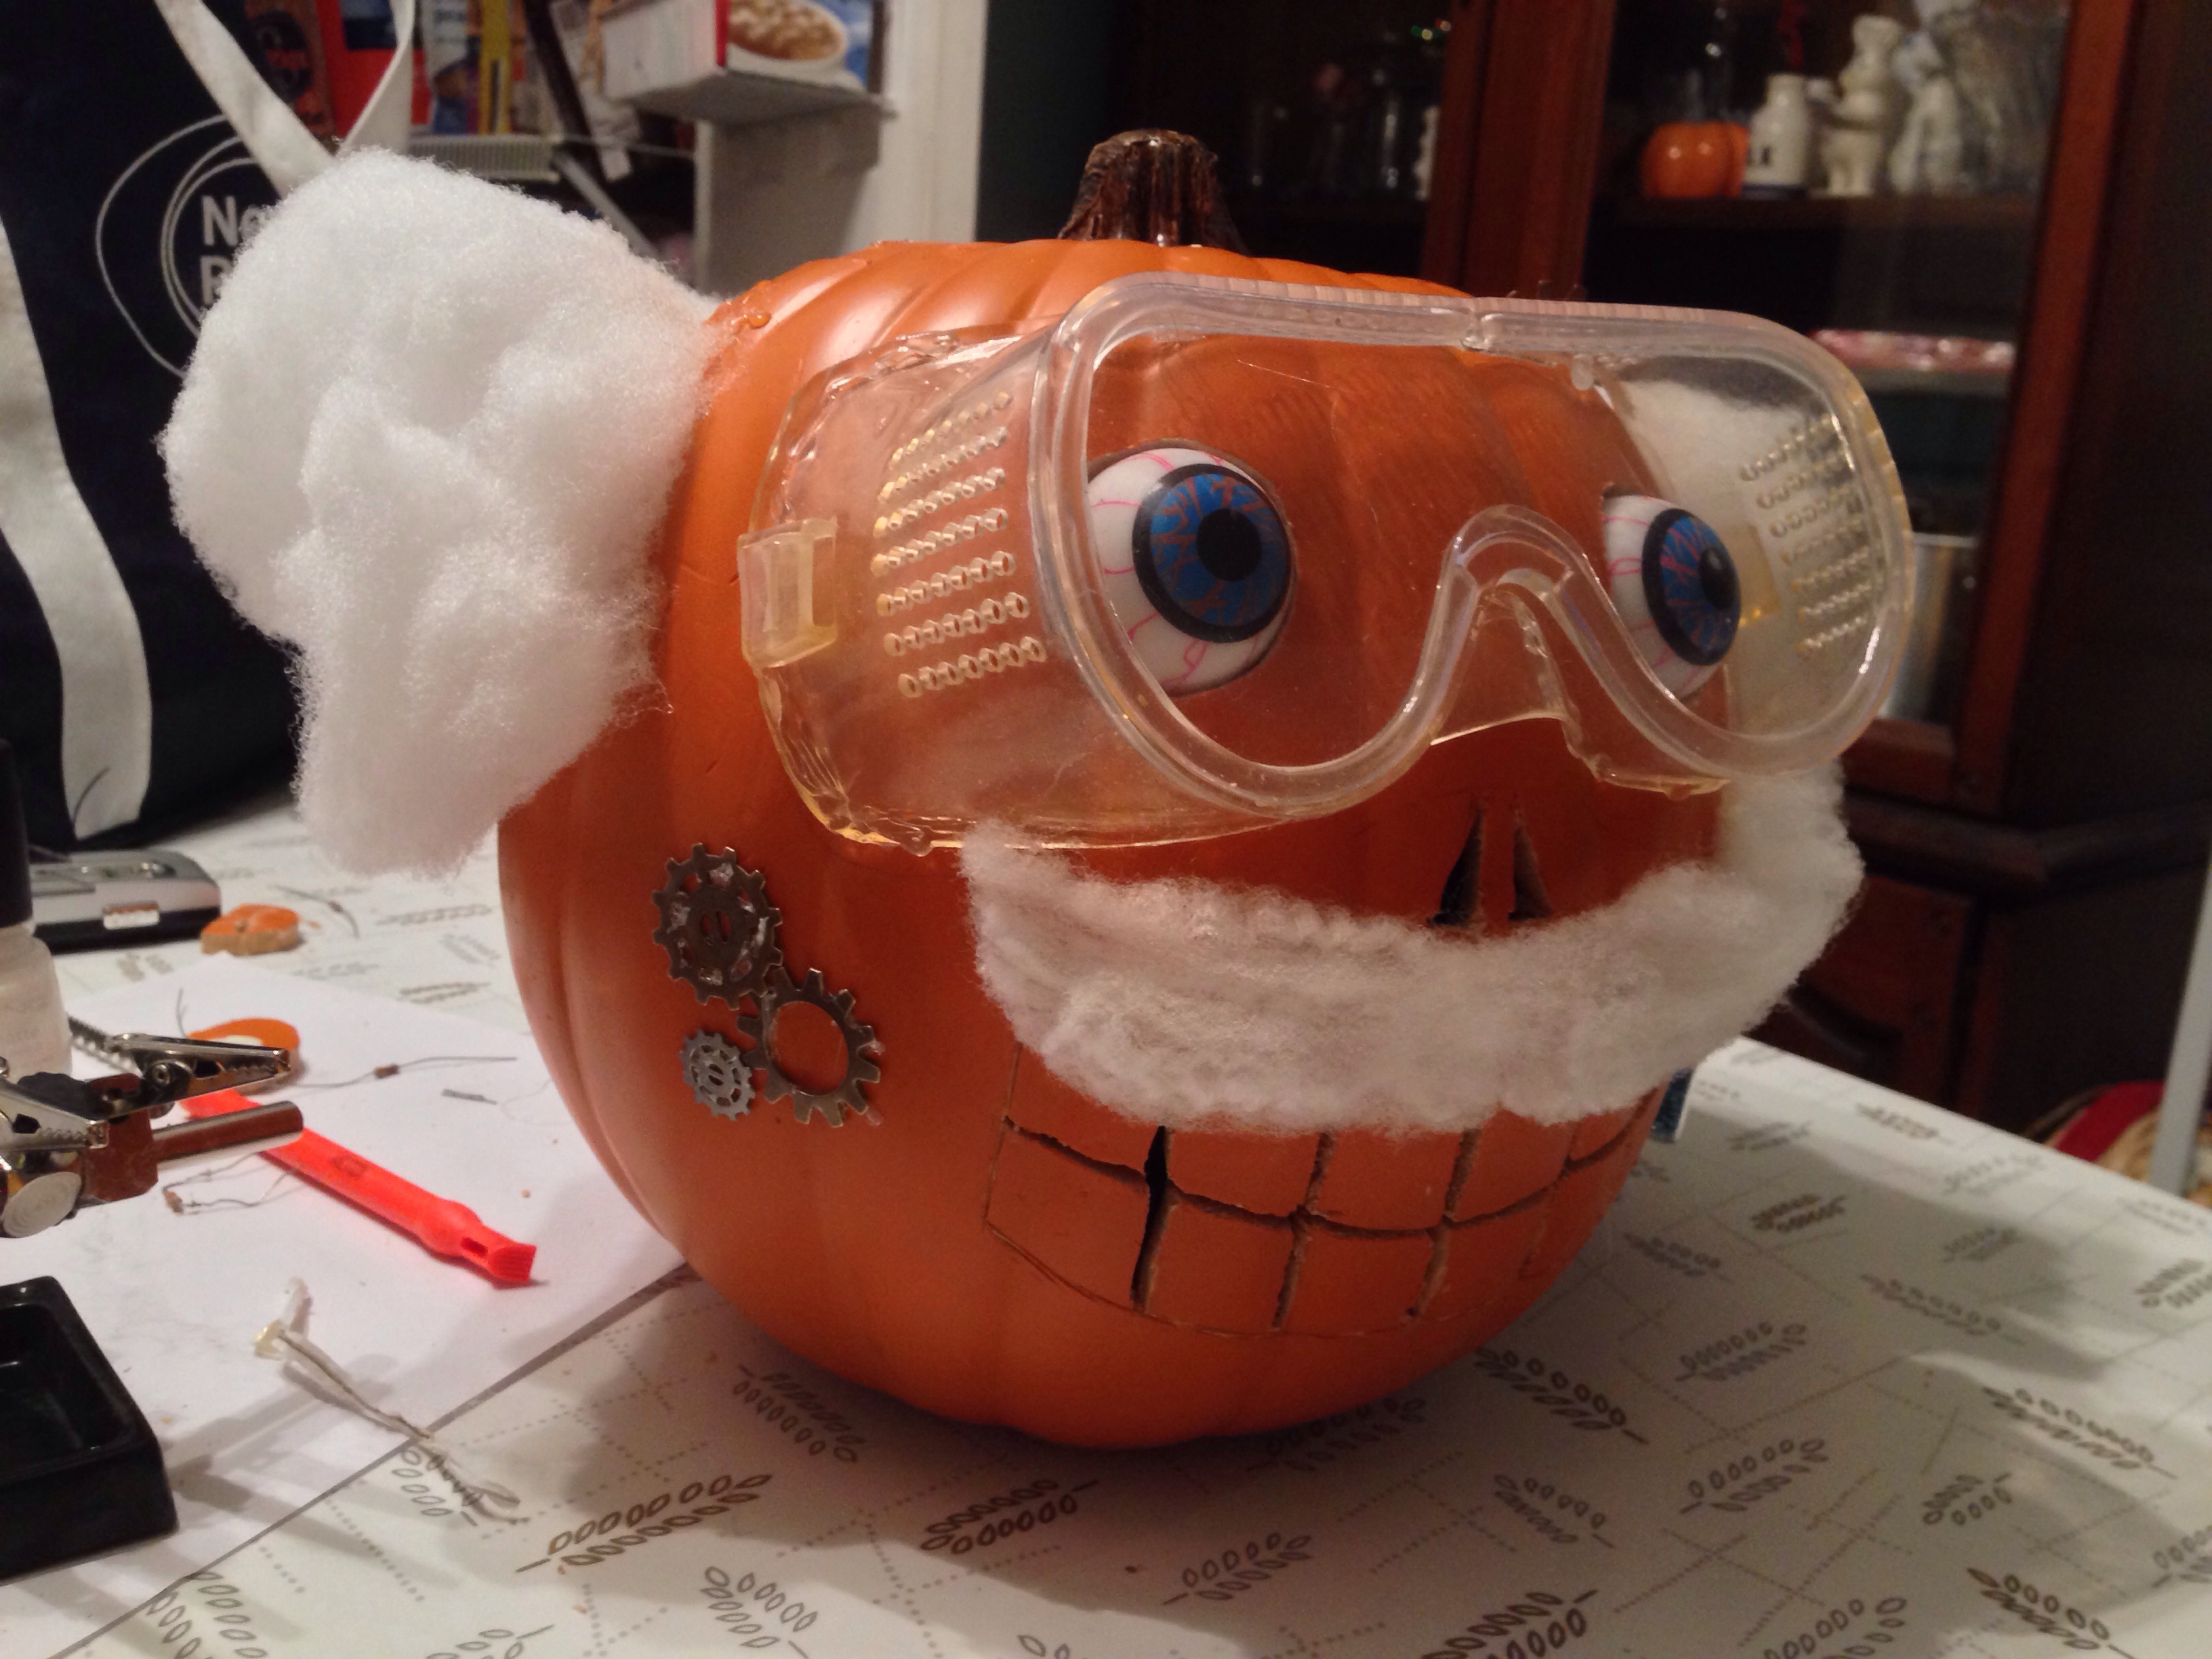
Schweet! At this point, I used hot-glue to affix the safety goggles…

And some hair and a mustache…

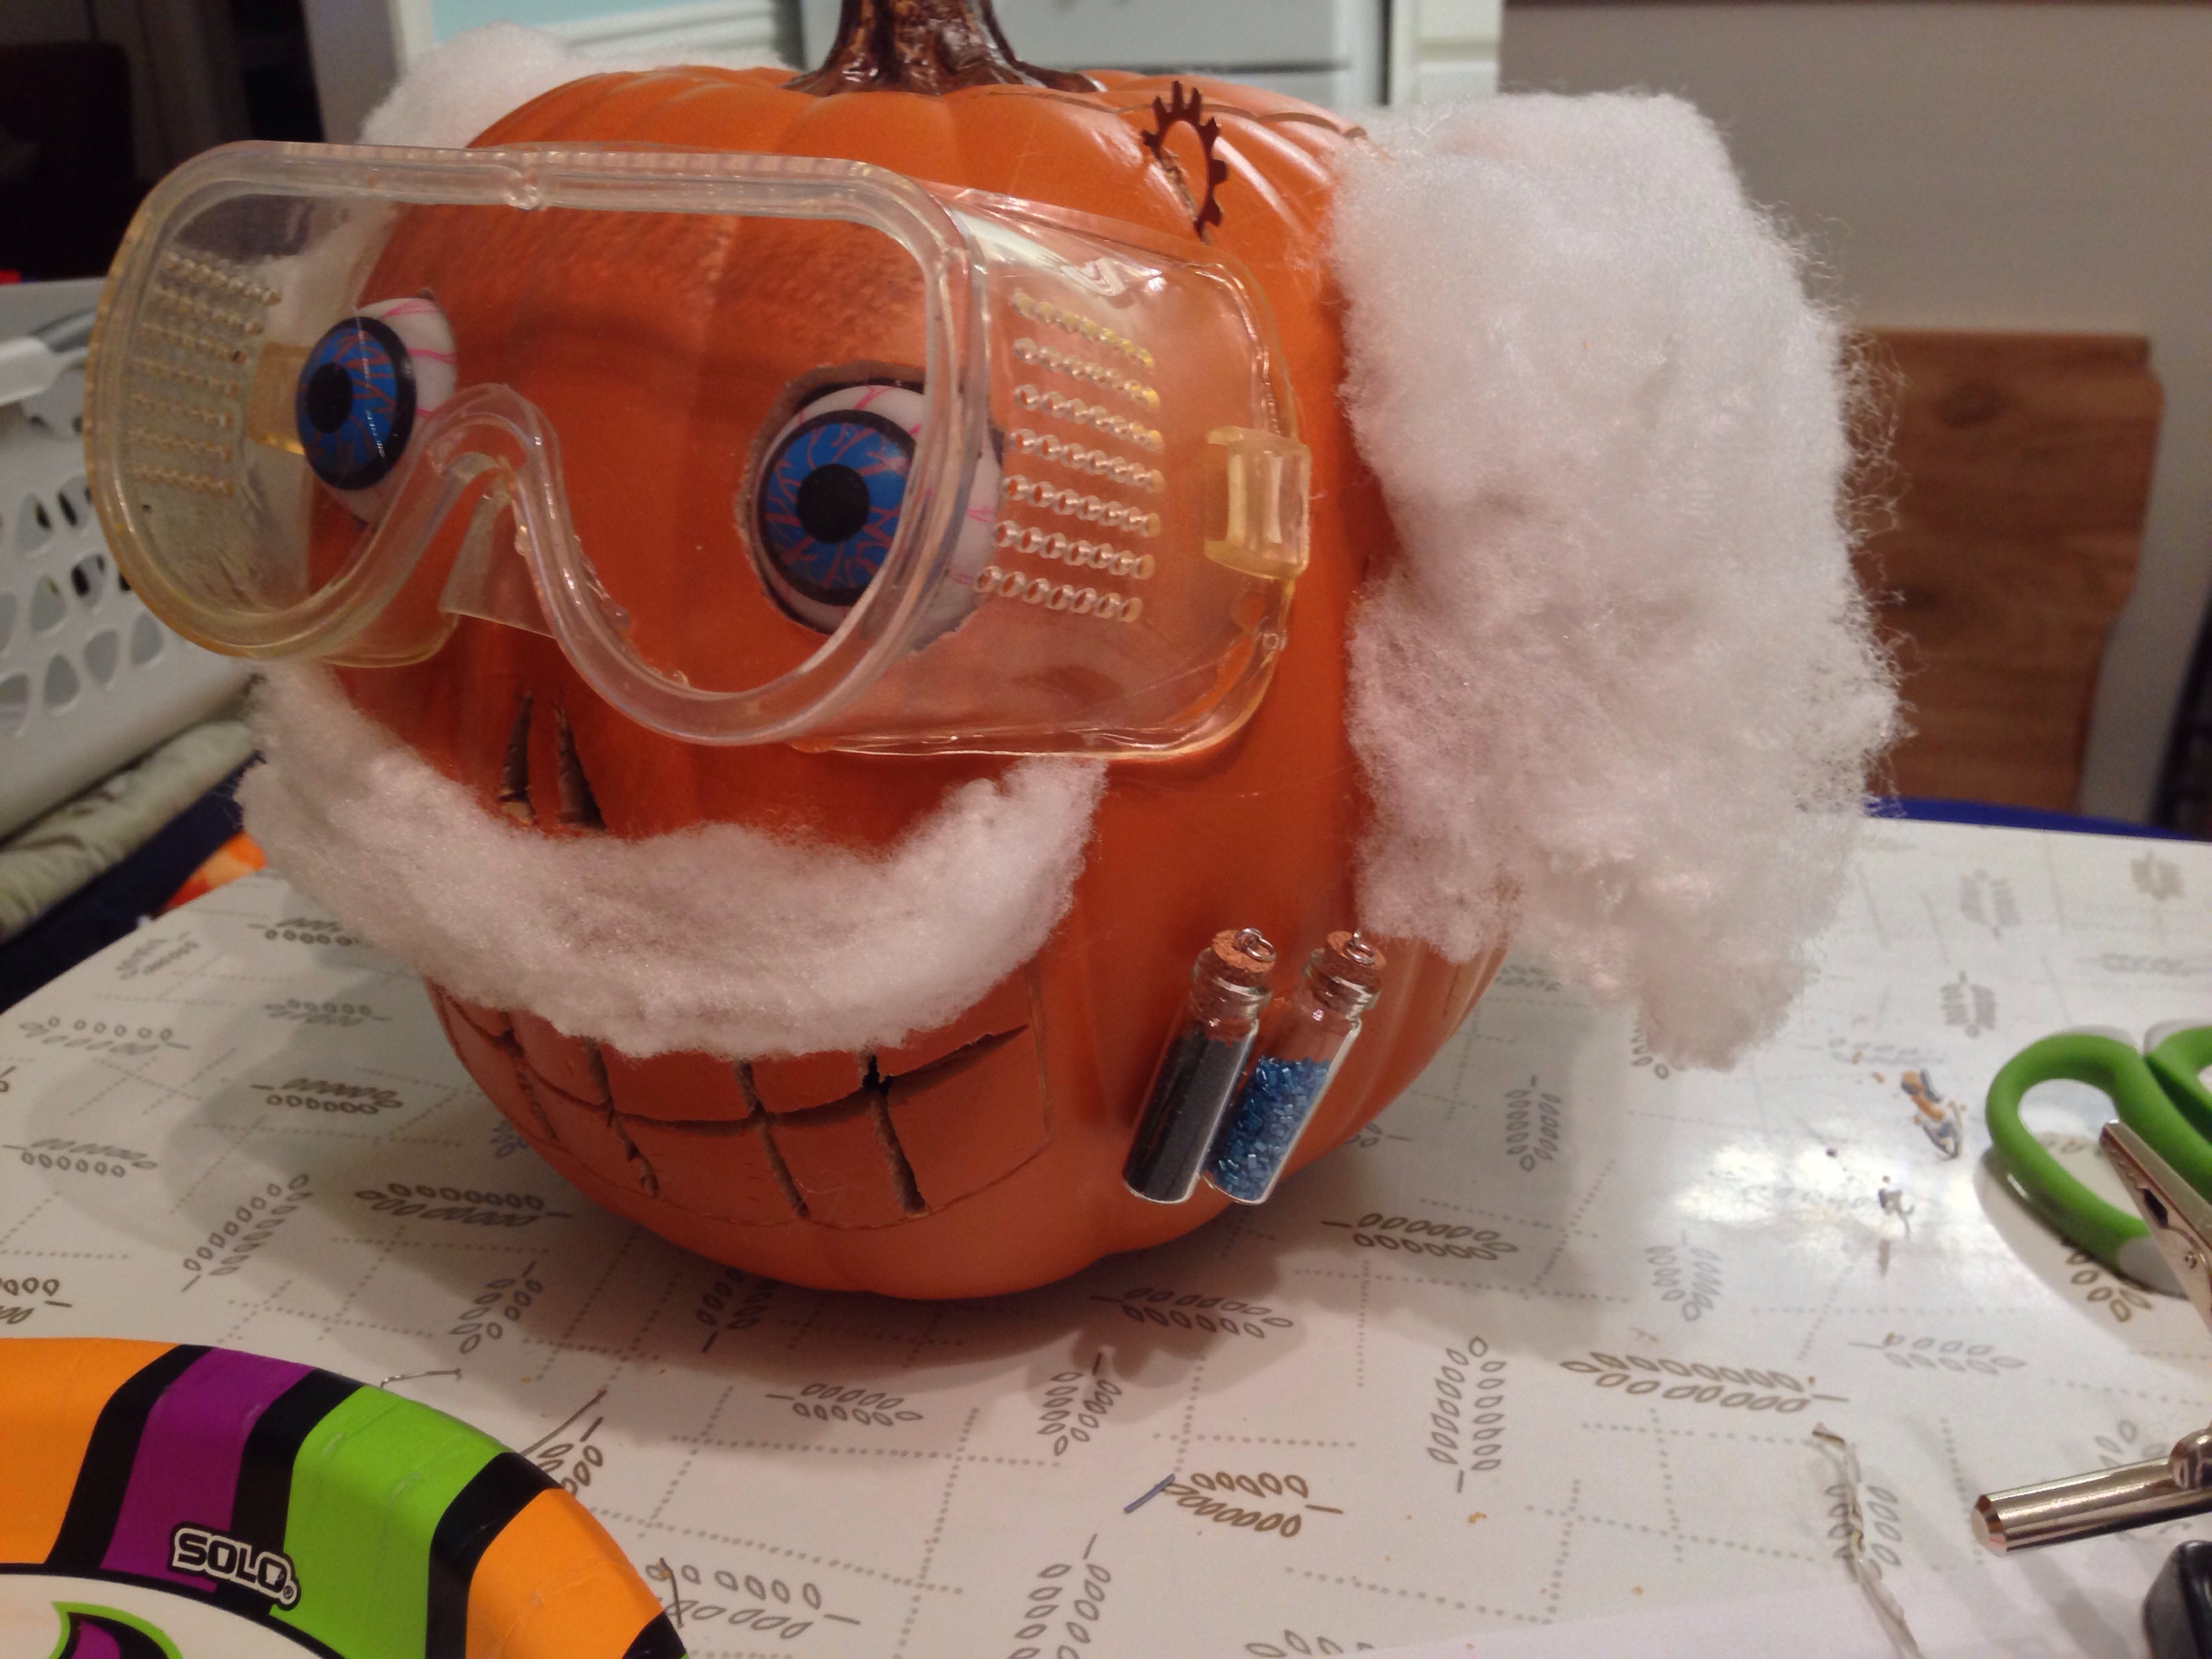
We filled two small test tubes with colored sugar, and hot-glued those on one side, and some gears on the other side…
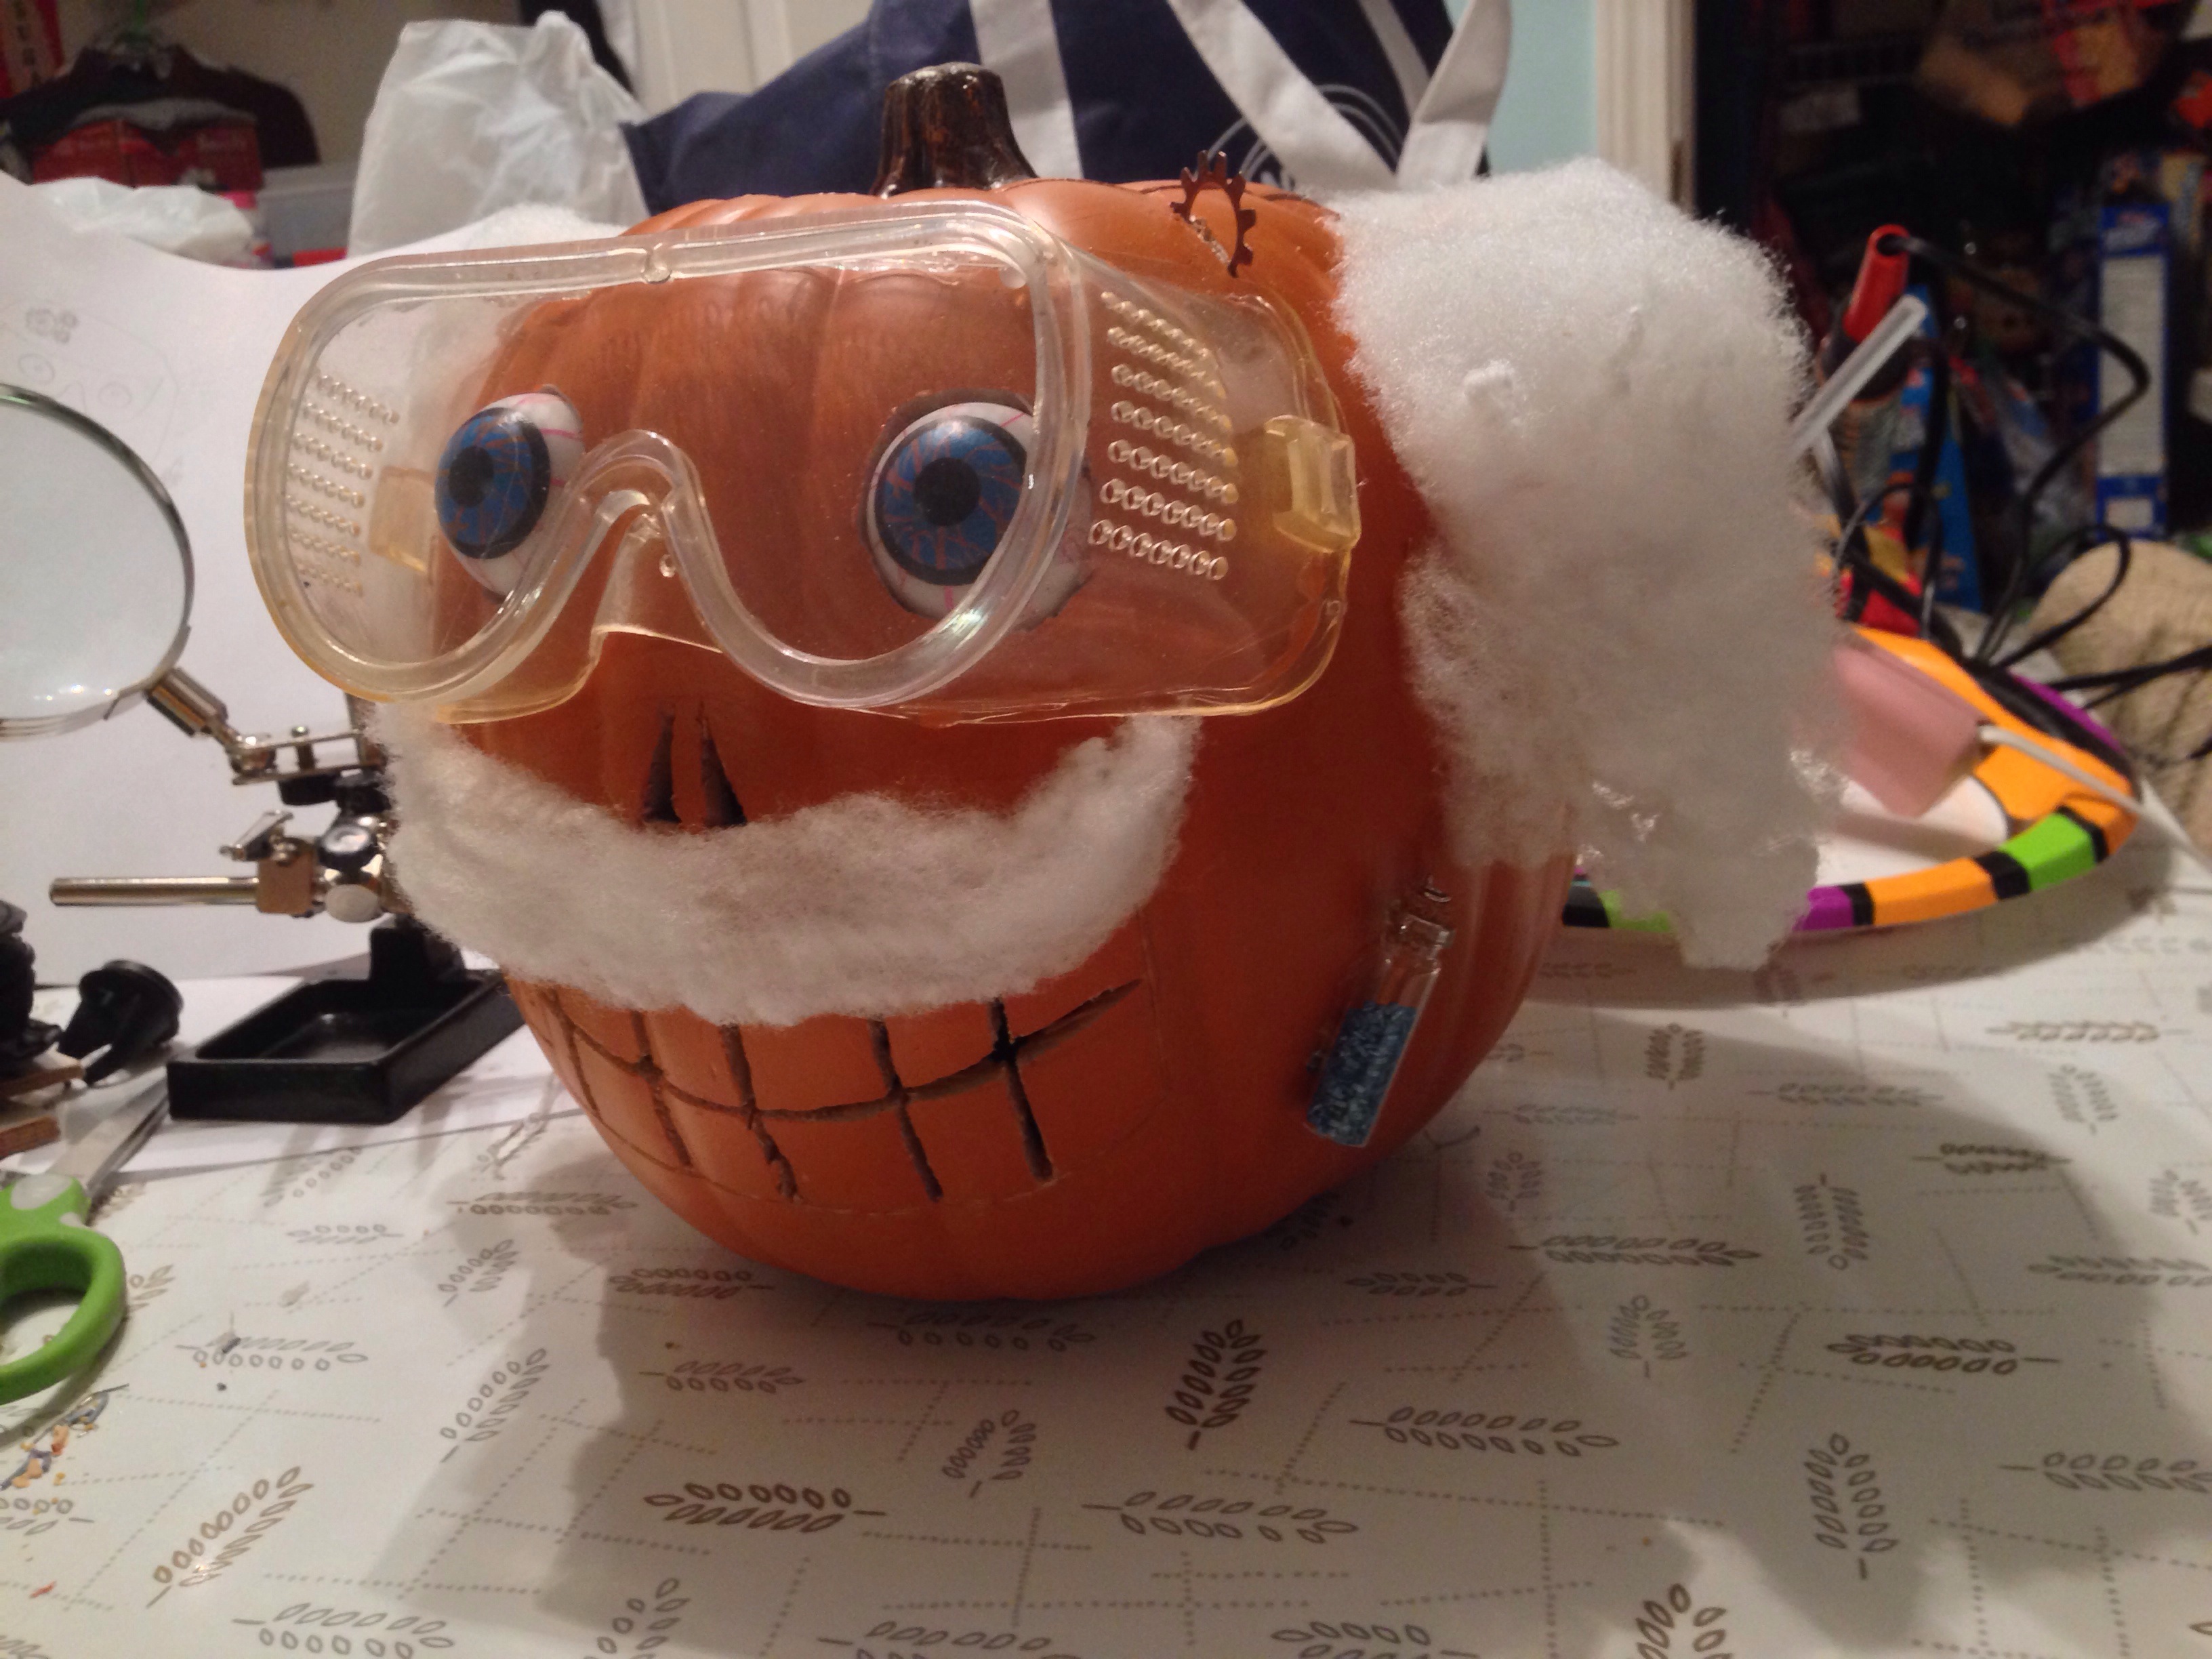
We also decided that our Mad Scientist had probably had a lab accident or two in his lifetime…
The blinking eyeballs did pose one problem. In their original ring form, there was a small button on the side of each one to turn the blinking lights on and off. It was a momentary push switch, and once you turn it on, it stays on until you push the button again. We didn’t want people reaching inside our scientist’s head to turn on his lights, and possibly popping his eyes out accidentally. And with the light circuit board detached from the original ring mount, these were just loosely held onto the eyeballs with Scotch tape. To fix this problem, I soldered some lengths of ribbon cable onto the switch mounts, and connected them together onto my own tact switch, which I then mounted to the back of the head.

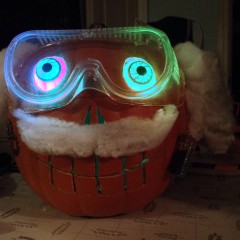
And with that, our Mad Scientist Pumpkin was complete!

And here’s a short video with hot blinkenlight action!
My family thought this guy was pretty cool, so now they want to build more to display at our house this year. Maybe in my next build, I can toss in a Digispark and add some motion sensing!